Chest Binding Pain - Pain From Wearing a Binder
How common is chest binding pain?
According to a Health Impact Study published in the Culture, Health, and Sexuality Journal, 97% of people who wear a binder experience uncomfortable side effects such as neck pain, shoulder pain, back pain, and trouble breathing.
Other than limiting the time you spend in a binder, changing/washing your binder often, and avoiding unsafe compression methods such as duct tape and ACE bandages, there are several steps you can take to decrease the discomforts associated with binding. This collection of tips comes both from my personal experience wearing binders as well as my clinical experience in treating the musculoskeletal complaints that my clients experience from binding.
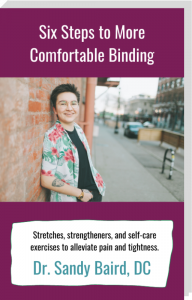
Six Steps to More Comfortable Binding
1. Practice daily movement and stretching
Increasing circulation and stretching key muscles in your body can help release some of the tightness that builds up from the daily postural stress associated with binding. One possible routine would start with five minutes of movement of your choice (walking, dancing, jumping jacks, etc) to increase general blood flow to your muscles. Then spend 30-60 seconds performing each of the following stretches:
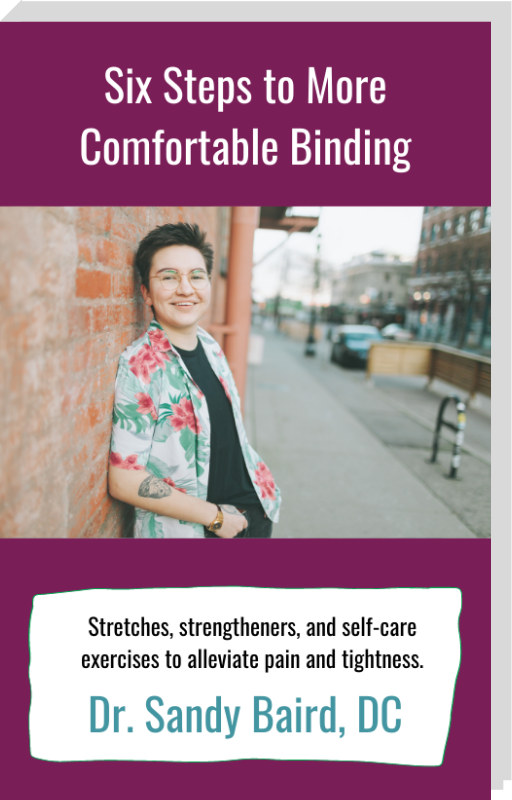
(Download your free eBook above to see pictures and links to videos for all these exercises and more!)
-Trapezius muscles: From a seated or standing position, tilt your right ear towards your right shoulder, imagining your neck growing long towards the sky before settling into the tilt. This should bring a stretching sensation into your left neck muscles and trap muscles (the chronically tight muscle between your head and your shoulder. If you want more of a stretch, you can reach up with your right hand and gently apply a bit of overpressure, being careful not to crunch your head down, but instead allowing more length in your neck.
-Pectoralis minor muscle: Find a doorway you can walk through. Bring your right arm out to your side like a goalpost, and then place your right elbow and right wrist against the doorframe. Your elbow should be level with your shoulder. Slowly lean your torso forward into the door opening while keeping your elbow and wrist in contact with the doorframe. If this stretch creates any pinching sensation in your shoulder, you can alternatively lie atop a foam roller placed vertically along your spine (head and hips supported) and drop your arms out to the sides.
-Side stretch: Reach your arms overhead if that is available to you, or plant your hands on your hips. On your inhale, reach and lean upwards and over to your left side. If your arms are overhead you may want to grasp your right wrist with your left hand. You should feel a stretch along the right side of your body through your ribcage.
-Cobra stretch: lying face-down, place your hands under your shoulders with your palms down and fingers pointing forwards. Draw your elbows back and in towards your sides so your shoulders won’t hunch up by your ears. And then press up gently until you feel a generalized stretch through the front of your chest and abdomen.
2. Balance push and pull movements
Many trans-masculine folks hit the weight room to build up their pectoral muscles (chest muscles) in order to sculpt a more masculine physique. But often during this quest to build a more muscular chest with pushing-type movements like the bench press or pushups, we neglect to strength-train our upper and mid-back muscles with pulling-type movements like rows, pull-ups, or lat-pulldowns. This can lead to postural imbalances between the front and back of the body, which can add layers of pain and tension to a torso already taxed from the compression of a binder. Not only is it important to balance upper-body pushing and pulling in the weight room, but also adding specific strengthening exercises such as the I-Y-T exercise and rotator cuff external rotations with a band or a cable machine can greatly improve shoulder and back health and decrease postural strain.
3. Deep breathing and coughing
Before pulling on your binder for the day, build resilience in your lungs and rib muscles by taking three deep breaths. If your mobility allows it, sweep your arms up overhead on your inhale, and gently lower your arms on your exhale.
During binding it may feel challenging to take very full breaths. A centering meditation focused on connecting with your normal breathing pattern can be helpful in alleviating some of the anxiety that can come from feeling like you can’t get a deep breath. You can create your own or download one of the many free meditation apps that are available to you.
After binding, take three deep breaths, then do three big coughs to clear any fluid that may be building up in the lungs. This fires up the intercostal muscles, those little in-between-the-ribs muscles that don’t see a lot of activation due to being squished down under a binder. Follow with another round of three more deep breaths and then three more coughs.
4. Self-muscle work
Stress, tension, and anxiety can all manifest in muscular tightness. There isn’t anything you can do to un-compress tissues that have been compressed all day, but there are some home-care exercises you can do to boost your resilience so you will best be able to handle the compression from a binder.
(Download your free eBook above to see pictures and links to videos for all these exercises and more!)
-Foam roll your back muscles. Sit on the floor with your legs in front of you, bend your knees and place your feet on the floor. Place a foam roller horizontally across your mid-back and lean back against it. Either cross your arms like you are hugging yourself, or clasp your hands behind your neck, and then use your heels to push into the floor to raise your hips. Your head and torso will naturally lower as the foam roller moves upwards along your spine. Find a rocking motion where your hips go up as your head and torso lower. You can shift your weight to the muscles on one side of your spine at a time, or just keep things centered and get pressure on both sides at once. After you have rolled out some of the tension in your back muscles, return your hips to the ground. Reset the roller approximately at the level of your shoulder blades, and then inhale as you slowly extend your upper back over it (your head can drop back and down) and exhale as you come back to the starting position. This will create more general mobility through your thoracic spine (upper and mid-back).
-Find a softball or tennis-ball-sized massage ball and some wall space. Facing the wall, place the ball into the outer corner of your pec muscles (near the outside of your collarbone but before you get to your arm. Roll through these chronically tight tissues until you find the tightest spot. Hold pressure on that spot for about thirty seconds, remembering to breathe. If you need more space for your face or your chest, you can move this exercise near a doorway and poke your head through the doorway, or if there is no doorway available, just place a yoga block between the ball and the wall to allow you some more space.
5. Get adjusted
Tight or comprised muscles over time can pull on joints and create “stuck” spots in the spine. Even after you release the muscular tension, these sticky fixations of the joints can remain and limit range of motion and cause pain and sensations of tightness. Chiropractic adjustments are the only way to correct these fixations and can go a long way in terms of relieving pain and restoring motion.
6. Power up your core
I’m not talking about getting six-pack abs or doing endless crunches. When your deep postural core muscles are activated, your neck, back, and shoulders have to work less hard to hold you up. Two of the best and most accessible exercises are core bracing and the dead bug.
(Download your free eBook above to see pictures and links to videos for all these exercises and more!)
-Core bracing: Lie on your back with your knees bent and your feet on the ground. Find a posterior pelvic tilt (tuck your tailbone under to flatten your low back, versus arching your low back and having a big space between the floor and your low back). It should feel like your pubic bone and your ribs are reaching for each other, even though your head and torso are relaxed on the ground. Pull your belly button in towards your spine as if it could root ten feet down into the earth underneath you. Now exhale fully while emphasizing this bracing. Inhale and relax everything, allowing your belly to expand fully. Exhale as you find the bracing again. Repeat several times until you are comfortable finding this bracing. This is the foundational movement to the dead bug.
-Dead bug: Lie on your back and bring your knees up to tabletop position (knees bent to 90, and shins parallel to floor). Find a posterior pelvic tilt (tuck your tailbone under to flatten your low back, versus arching your low back and having a big space between the floor and your low back). Slowly extend your right arm and left leg, and then return to the starting point. Repeat on the other side for a total of 2×20. If this movement is painful or challenging for you and you feel your low back pop up off the mat, return to a strong posterior pelvic tilt, and then shorten the lever arm of this movement by tapping your heel down to the floor instead of extending your whole leg out.
If you are needing some relief from your neck, shoulder, or back pain from binding and would like to schedule a free consultation with an Oakland chiropractor, please call (510) 465-2342 or click the button below.
Other Conditions We Treat
What Other People Just Like You Are Saying About Riverstone Chiropractic In Oakland...
